.jpeg)


It's your first gig in a fancy new venue. You step up to the mic to address the audience and, suddenly, nothing comes out of the speakers and monitors but a howling screech that sets your teeth on edge and has half the audience running for the exits—definitely not the feedback you were looking for. You wake up and sit bolt upright in bed, your ears still ringing. The good news is that, after reading our article about how to get feedback under control, you'll have nothing but sweet, harmonious dreams.
Table of Contents
What Is Feedback?
Strategies for Reducing Feedback
How to Place Microphones
How to Monitor Without Feedback
How to Place Speakers
How to Control Feedback With EQ
Automatic Feedback Detection and Suppression—Breaking Out the Big Guns
Final Checklist for Avoiding Feedback
What Is Feedback?
Feedback in an amplified sound system is when the dominant frequencies are loud enough to be picked up by a transducer—whether that's a microphone, an instrument pickup or even an electronic component that has a resonant vibration at that frequency—and fed back (see where the name comes from?) through the amplifier. Feedback can range from a momentary ringing sound to a full-blown, ear-splitting squeal, depending on how much gain is involved. While it can be great for guitarists who want that "infinite sustain" of a single note, in a sound system, it can be the stuff of nightmares for performers and for sound engineers. We're going to present a number of strategies and tools that you can use to keep those feedback demons at bay, and to better understand how you can avoid them in the first place.
Strategies for Reducing Feedback
Dealing with feedback can be a complicated issue for a variety of reasons. The causes will vary from venue to venue and even from spot to spot on a stage. The acoustic resonance of a room; how many mics you're using, and how they're placed; where the main speakers and any monitor speakers are placed; the distance and angle of any reflective surfaces from the microphones—all of these and more will affect how easily a system will feed back, and how easy or hard it will be to control. So, let's start with some basics.
How to Place Microphones
One of the key things to remember about feedback is the more live microphones you have on stage, the more likely feedback will occur. This risk is greatly increased if the polar pattern of any one of those microphones is aimed, even partially, at a monitor speaker or at one of the main system speakers. From this, we can see that it's important to not just minimize the number of mics you're using on stage, but to choose carefully when deciding which mics you use. We cover the basics of this in our article on Quick and Easy Strategies for Live Performance Miking, but here's a little extra something we didn't discuss there.
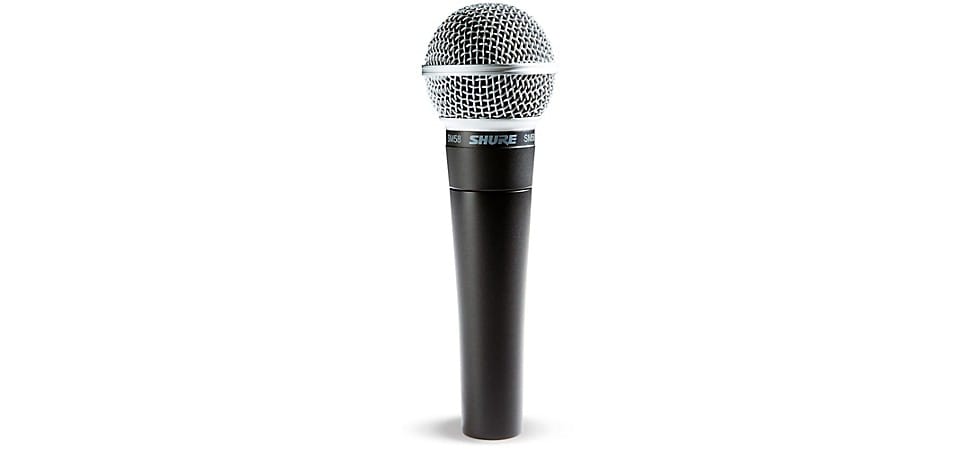
Pictured: Shure SM58 Dynamic Handheld Vocal Microphone
While cardioid polar patterns for mics can be generally considered as more or less unidirectional, supercardioid and hypercardioid patterns actually have a pronounced pickup to the rear of the mic, which the standard cardioid pattern doesn't. If you look at diagrams of polar patterns, the standard cardioid looks like an upside-down heart, that's rather wide directly to the sides of the mic capsule. The supercardioid and hypercardioid patterns are far less wide to the sides, but look kind of like a mushroom, with a stubby little stem at the rear of the mic. From this, we can see that if the singer or instrument needs an excess of gain on the mic, and the rear of the mic is pointed in the general direction of a nearby monitor or main speaker, you might have a feedback risk, even though technically the mic has a tighter pattern. You should also remember that these diagrams of polar patterns are a two-dimensional representation of a three-dimensional pattern. We've found it's helpful to think of them as balloons extending out from the microphone, rather than as flat patterns.
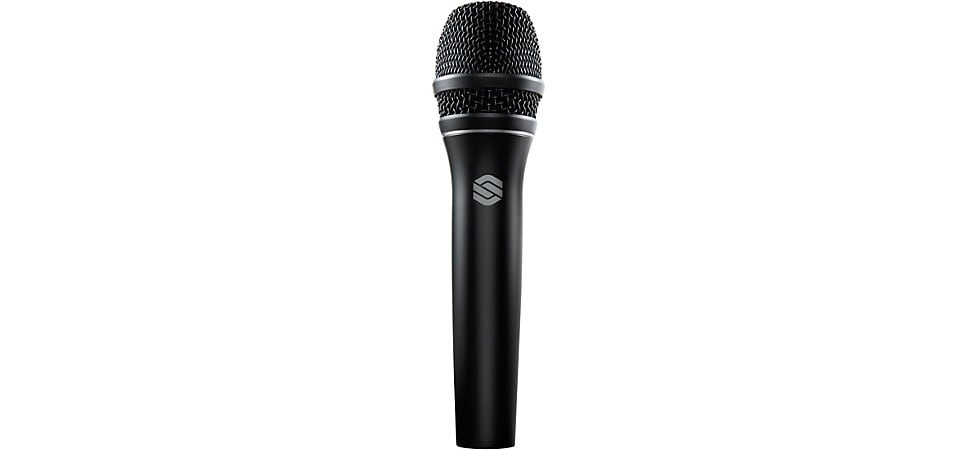
Pictured: Sterling Audio P30 Dynamic Active Vocal Microphone
In most cases, standard cardioid mics, like the universally loved Shure SM57 and SM58, will provide sufficient off-axis rejection. But on louder stages or in situations where musicians are close enough together, bleed becomes a problem. What is bleed? It’s when sound from another source, like from an adjacent instrument or from a monitor speaker, ends up getting picked up by a microphone where you don’t want it. Switching to a mic with a supercardioid pattern, like the sE Electronics V7 or the Sterling Audio P30, will decrease bleed problems from your (next door) stage neighbor. Bear in mind this will affect where you can safely place monitors, which we'll get to in the next section.
How to Monitor Without Feedback
Once you've got your mics placed, the next step is to figure out monitor placement. To do this, you have to think about the polar patterns of your mics, as we discussed in the last section. For cardioid mics, remember that the best placement of a monitor wedge is going to be pointing directly at the back of the mic, as that's where the weakest part (called the "null") of the pattern is located. As a friend of ours in the AES (Audio Engineering Society) says, "Point mics at people or instruments, and nulls at speakers."
Following that advice, you can see that for supercardioid and hypercardioid patterns, the monitors need to be placed approximately 30–45 degrees to the left or right of the center line of the microphone pattern to avoid sitting in the rear-facing lobe of the pattern. So, we've got it all solved, right? Well, maybe not so much.
If the back of the stage reflects sound well (say, for instance it's a window or a mirror), it can bounce high frequencies right back into your microphones, so you may need to shift monitors around so they're not going to bounce the wrong way.
The complications multiply when you've got numerous people on stage who need monitors and/or a whole bunch of microphones pointing in all different directions. Doubly so when you have one or more singers who move around the stage. So, sometimes, getting all that sorted out in a venue where you've never played before can take some time and effort. One possible solution to that is to switch to in-ear monitoring (IEM), either wired or wireless. For that, we're going to point you to our Ultimate Guide to Stage Monitoring article, especially to the section on how to put together a personalized wireless IEM system that will help make your band's performances that much tighter. Now, about those main speakers.
How to Place Speakers
You'd think that placing your main speakers to avoid feedback would be a simple question of making sure that no microphones are in front of the speakers. If only. One unfortunate aspect of the physics of sound is that different frequencies have different coverage patterns from any speaker, and sometimes that causes a problem even when all the mics are safely behind the plane of the front of the speakers.
If you've ever dealt with placing a subwoofer for your home entertainment system or your home studio, you will have encountered the common wisdom that low frequencies are non-directional, so it doesn't matter (at least not that much) where you place the sub. That's great for getting those chest-thumping lows when you're mixing your latest dance track, but not so much when there are live microphones. The fact is that your main PA speakers will be putting out low and, to a lesser extent, low-mid frequencies all the way around the speaker. So, instruments with mics that need to be picking up low-frequency information, like kick drums, bass amps, etc., should not be too close to the PA mains. The closer you can mic things, the better, as well, since you'll need less gain on the mics then, and that will help stop feedback before it starts.
Sometimes, all these steps aren't quite enough, and you need to resort to technological solutions, which brings us to the question of EQ.
How to Control Feedback With EQ
When we talk about using EQ to help get a handle on feedback problems, we're not talking about the type of three-band EQ (high/mid/low) you typically find on an input channel of your mixer. Those EQs are far too broad a brush to paint out offending frequencies. Instead, we're talking about graphic EQ units like the dbx 131s (mono) or dbx 231s (stereo) 31-band rack units. Each of these bands controls 1/3 of an octave of frequencies, so it's much easier to zero in on the offending area and make the cuts you need. Also used are parametric EQs, like the Drawmer 1974. Parametrics have the ability to adjust filter width, so you can zero in even more closely on a specific problem frequency, producing a much tighter notch at the target area. These EQs are for the system as a whole, and you might run one on your monitor system and one on your mains.
The process of what's called "ringing out a room" is used to find and deal with offending frequencies, and getting this down is an important part of any live sound engineer's tool kit. The basic idea is to push the system to the point of feedback, identify the frequencies that are a problem, and use the EQ to judiciously cut them, but not so much that it affects the clarity and impact of your final sound. Remember that sheer volume doesn't do you much good if the overall sound isn't balanced in a way that the audience enjoys. To fully go into the process would be a larger task than we have room for here, so be on the lookout for an upcoming, in-depth article on how to do this.
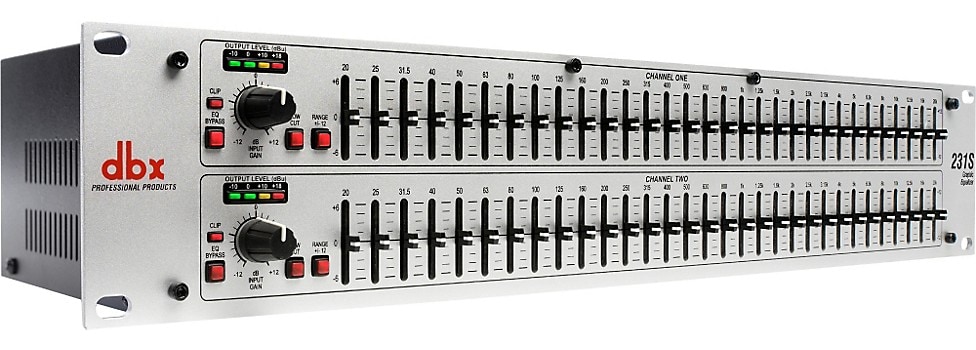
Pictured: dbx 231s Dual-Channel 31-Band Graphic Equalizer
There are a couple of things you can do with the channel EQs on your mixing board that will help, as well. For mics that aren't being used for low-frequency sources, you can use the channel's high-pass filter (HPF) to roll-off everything below a set frequency. On many analog boards, you only have a couple of choices (usually 80Hz and 100Hz) to choose from. On digital boards, you'll frequently find that the HPF roll-off (the frequency at which the filter starts to kick in) can be adjusted on a per-channel basis. As an example, if your bassist also sings in the tenor/alto range, you'll definitely want to turn on the HPF so that the bleed from the bass cabinet doesn't "mud up" their vocals. Generally speaking, the HPF should be on for every channel that doesn't need those frequencies.
There's usually a low-pass filter (LPF) as well, and it works the opposite way, allowing only frequencies below a set point to pass and rolling off everything above that. Take the same approach and use the LPF on any mic that doesn't need or contain higher frequencies. Returning to the example of a human voice, the range of frequencies is considered to be from 85Hz—which is the fundamental for a bass singer—to about 10kHz for the upper harmonics the human vocal cords can produce. Unless you've got a serious basso in the band, you're generally safe with the 100Hz figure for the HPF and 12kHz for an LPF. As for instruments, it can vary. Electric guitars, for example, are around the same frequency spectrum as the human voice, so you can follow the same general rules. It's a good idea to get familiar with what the basic frequency ranges for different instruments are and use that knowledge to inform your EQ choices.
Sounds like a lot of work, right? Especially if you're doing a series of one-nighters, it can be. But there is a somewhat more advanced solution—automatic feedback detection and suppression systems.
Automatic Feedback Detection and Suppression—Breaking Out the Big Guns
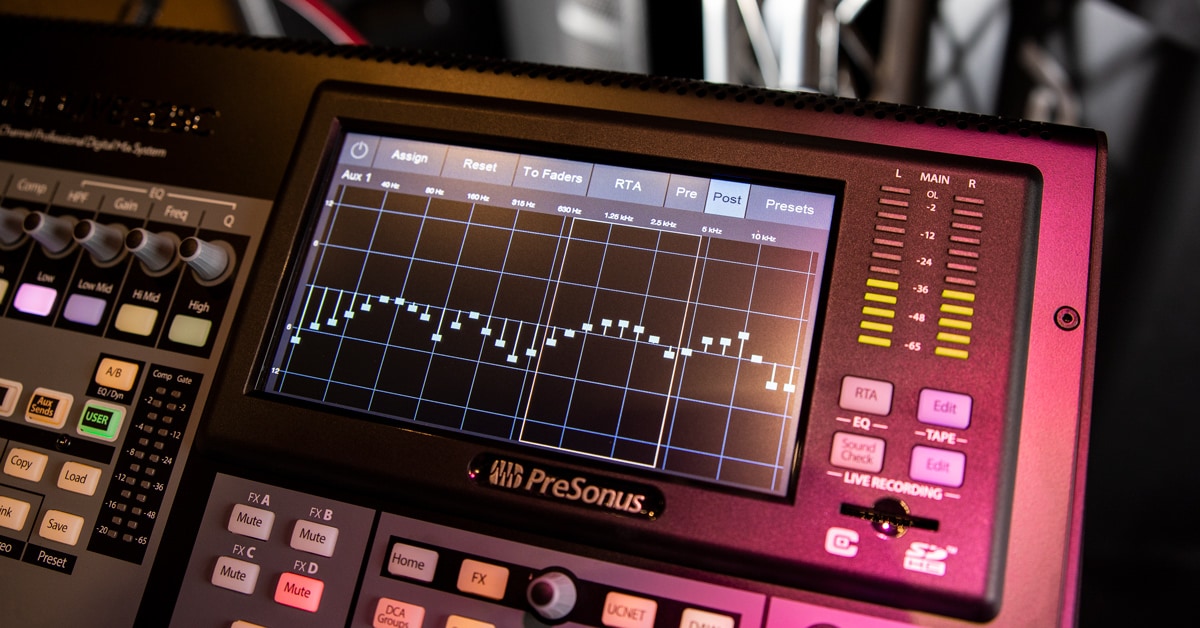
As technology has advanced, especially as DSP has gotten faster and more powerful, it's become more and more possible to do automatic feedback detection and control. This capability is even beginning to pop up in digital mixing boards, like the QSC TouchMix Family with its Feedback Wizard, and even built into powered speakers like the JBL EON7 Series and Mackie Thump Family. There are also separate rack units, like the dbx DriveRack, which provides automated feedback suppression as just one of its numerous speaker and sound control functions for more modular systems.
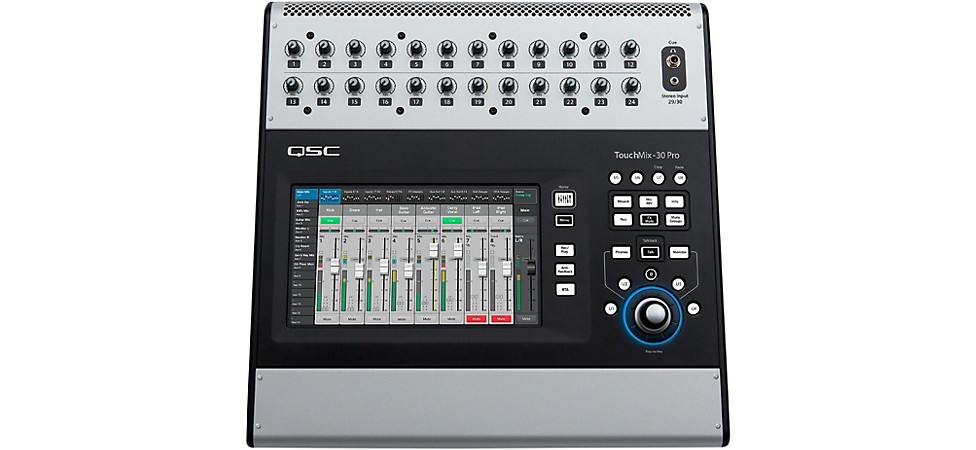
Pictured: QSC TouchMix-30 Pro
While it's still not to the level of "just push a button" to get everything running without squeal, these tools do a lot to simplify the job. So how does it work? Over the years, there have been a number of techniques used, but today, the most common is to have the feedback suppressor monitor the signal going to the speakers. The unit contains a number of variable EQ filters and a frequency detector. If a frequency starts to cause feedback, the unit's DSP can very quickly determine what frequency it is and set one of the variable filters to that frequency at a very narrow width to notch it out—all much faster than a human engineer could do so. Some of these systems, like the DriveRack mentioned above, also have the capacity to automatically ring out the room, getting rough settings in place that will usually only require minor adjustments by the FOH (front of house) audio engineer. You, as the engineer, still need to get your hands dirty, but the technology makes it much faster and easier to get the job done.
A Final Checklist for Avoiding Feedback
So, there are the basic tools that are at your disposal to kill that howling feedback monster. Since every sound engineer worth their salt tends to start with a checklist, let's create one here.
- Be smart about microphones—don't use more than you need, pick suitable polar patterns for the job and be smart about placement. Keep the low-frequency mics tight up on what you're miking to minimize the amount of gain they'll need, and don't have low-frequency instruments too close to the speakers (especially not to subwoofers).
- Make sure the monitors are placed in the nulls of the microphone polar patterns. Minimize the number of wedges you have on stage and be careful about reflections from back and side walls. If you can't go to an all in-ear system, see if you can get the band members who "like it loud" to switch, which enables you to reduce stage volume and decrease the chance of feedback.
- Be sure that even at their most forward position, mics will be behind the main speakers. If you're using subs, try and have them either off the stage or on some sort of isolation platform to reduce low-frequency coupling with the stage floor or low-end rumble that can build to feedback.
- Use your channel EQs to appropriately place high-pass and low-pass filters to reduce unnecessary frequencies for particular instruments and voices. Graphic and parametric EQs are first for tuning the response of the system to the acoustic space it's in, then, secondarily, for dealing with problem feedback frequencies. You might even want to have separate EQs for each of those purposes.
- Automatic feedback detection and suppression are great tools, but they are not the be-all and end-all solution. You'll still have to do some work. Spending some time to learn more about acoustics and about what frequencies are important for clarity and quality in vocal and instrumental sounds will always pay off.
Be smart about system setup and always remember that sound quality will always trump sheer volume. The better you (or the band, if you're the sound engineer) sounds, the more fun the audience will have, and the more fun they have, the more fun you'll have