


Choirs can be an integral part of many worship services, particularly those with traditional or gospel musical styles. They bring a communal aspect to the service that can encourage parishioners to take part and add volume and impact to the overall sound. However, capturing that sound and reproducing it accurately over your PA system or service recording can be challenging. With a large group of singers and a small source of capture (a microphone), it’s easy to have hot spots or unevenness in the sound. That’s why it’s important to use the right microphones with the right placement to get the best sound from your choral group.
In this article, we’ll look at some techniques for good choir miking. We’ll address why it’s important to mic the choir (even in small or reverberant spaces), and then we’ll look at stand-mounted and overhead condenser microphones, along with placement tips and model recommendations for each. Finally, we’ll take a brief look at handheld microphones, and address why they’re important in choral applications. To help you find the right microphones for your house of worship choir, contact Guitar Center Professional’s team of live sound experts for a free consultation.
Why Mic the Choir?
Because miking a choir can sometimes be difficult (and can even impact sightlines in some cases), it’s a decision that occasionally results in controversy, where some question whether you need to mic the choir at all. However, even in situations where you might be tempted to not mic your choir, most applications will be improved with a little amplification of the group. This is because different frequencies travel at different rates, and there’s a lot of competing noise both from the PA system and from ambient noises. Miking the choir will ensure everyone is heard clearly and that the mix is properly balanced.
For example, you might be inclined to not mic a large choir, thinking the group is loud enough on its own, but without amplification, the choir can still be drowned out by the instrumentation. In particular, key frequencies in the 2kHz to 4kHz range carry much of the consonants in human voice that make words intelligible. This range can easily be crowded in the mix, and without amplification, the choir can quickly sound muddled.
Alternatively, you may think that your house of worship is small enough that the choir can be heard suitably without the PA system. However, even in smaller spaces, choirs will often sound separated and disjointed from the rest of the music if not properly situated in the mix. Some good equalization, dynamics adjustment and reverb go a long way to ensuring the choir falls into the same auditory “space” as your other singers and instruments.
If you’re looking to record or livestream your service, it’s even more important to properly capture the sound of your choir. This ensures those watching the service remotely (live or on demand) will be able to hear everything that’s happening in the sanctuary. To do that properly, good microphone selection and placement is key, as it will ensure a good balance of all the voices, avoiding feedback and capturing a natural sound. Let’s look at this topic a bit further to see what we mean.
Stand-Mounted Stereo Condenser Mics
The most common and basic way of miking a choir is to use a condenser mic on a stand. We recommend using a condenser microphone because, while a dynamic microphone can be a good choice for solo vocals due to their handling of loud sounds, a condenser microphone will pick up quieter sounds and higher frequencies. Because condenser microphones capture more audio detail, they’re a better choice for choirs.
While you could use a single condenser microphone for a small choral group, for most applications, it’s recommended to use two microphones together in an approach called the X-Y method. This setup takes two matched small-diaphragm condenser microphones and places them 90 degrees apart in a V pattern, where the microphone capsules (the “front” of the microphones) come together at the “peak” of the V, slightly overlapping. This approach minimizes phase cancellation and ensures a natural, even sound, with the small diaphragm on the microphones providing an accurate frequency response. There are other methods of stereo miking as well, but the X-Y method has the benefit of being easy to configure with consistent results, making it a good option if you’re not used to large group microphone setups.

Pictured: Neumann KM-184 Small Diaphragm Condenser Microphone
Stand-mounted microphones are typically placed two to three feet from the first row of singers at a height that’s even to, or slightly above, the tallest singer in the back of the group. For larger groups, you can add more pairs of microphones. Just be sure you follow the “3:1” rule. The 3:1 rule states that the distance from one microphone (or pair of mics) to the next should be three times the distance from the microphone to the source. So if your microphone is two feet from the front of the choir, the distance between microphones should be at least six feet. Of course, all of these “rules” are guidelines, and some trial and error in your space will help you get the sound you are looking for.
When you’re looking at stand-mounted microphones, there are several excellent small-condenser options that are great for house of worship choirs. Microphones such as the Neumann KM184 and the Audix MB5055 MicroBoom-50 are available in single or matched pair packages, for easy use in X-Y applications. The Shure SM81 and DPA 4097 CORE are great options as well. All of these microphones have a cardioid or supercardioid pickup pattern, which helps reject sound from behind the mic.
Overhead/Hanging Condenser Mics
From a sound perspective, a condenser mic on a stand is the ideal method for miking a choir, as it gives you the most flexibility to properly position the mics to accurately capture the voices without unnecessary background sounds, such as hymnal noise. Of course, the very thing that makes this method a preferred one for capturing sound—the ability to position the mics directly in front of the singers—is also the reason some don’t like this approach.
Although modern small-diaphragm condensers are quite small and unobtrusive (particularly the aforementioned DPA 4097 CORE), some worship leaders don’t like that stand-mounted microphones block sightlines. In these cases, the house of worship may opt for an overhead, hanging condenser microphone. This approach places specially designed microphones above the choir, reducing the clutter on stage and clearing sightlines.
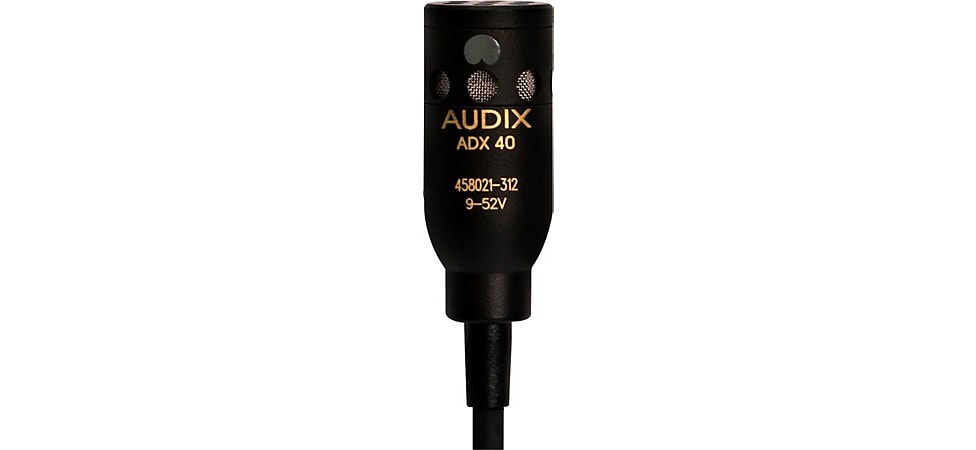
Pictured: Audix ADX40 Overhead Condenser Microphone
As with the stand-mounted microphones, the benefits of using overhead mics also come with inherent trade-offs. To be out of the line of sight, these microphones are typically mounted farther from the choir. They’re often installed six to ten feet above and in front of the choir. This makes for a cleaner look, but doesn’t capture the sound as accurately and is more susceptible to noise and feedback. As well, these microphones typically require permanent installation, which simplifies setup and teardown, and provides a consistent sound from week to week.
Good options for overhead microphones include the hanging version of the DPA 4097 CORE, as well as the Audix ADX40W and the Shure MX202. Like the stand-mounted versions, pickup patterns for these microphones tend to be cardioid or supercardioid to help address extraneous noise pickup.
Handheld Microphones for Soloists
While so far, we’ve been talking about the importance of miking choral groups, most houses of worship still run into situations where you need to mic an individual singer as well. Although worship leaders and backup vocalists commonly have individual mics in the mix, choirs typically don’t. However, many choral numbers feature soloists, duets or small ensembles, and while the choral mics certainly can pick up these singers, it’s still a good idea to have dedicated microphones for them. So, it’s recommended to include a few extra microphones in your audio system plan to account for these performances, as well as other times when there is an extra speaker or singer during the service.
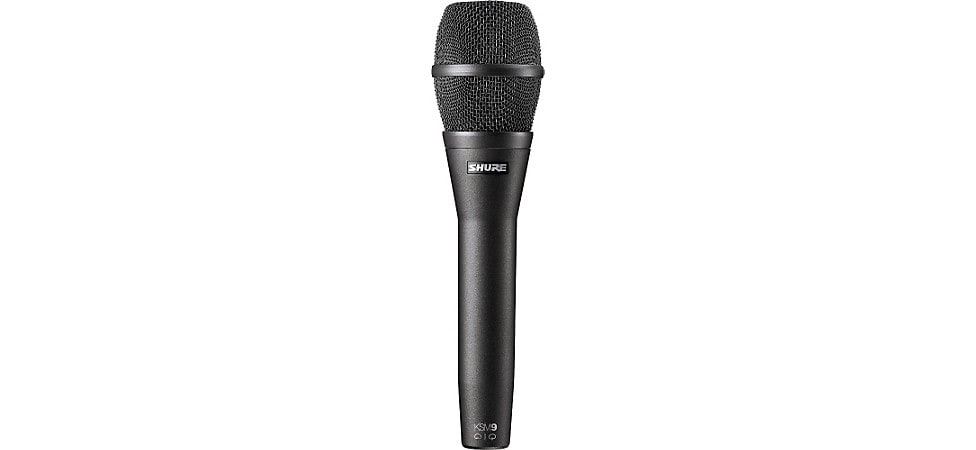
Pictured: Shure KSM9 Dual Diaphragm Performance Condenser Microphone
In choral applications, it’s important for soloists to have their own microphones, because it gives the sound engineer more control over the balance of voices. Sound engineers will typically boost the soloists a bit above the rest of the choir, helping them stand out in the mix. A microphone will also help these soloists stand out on stage as well, serving to visually highlight the soloist during the performance. Soloist microphones are usually handheld and are often wireless. Good examples of handheld microphones for soloists include the DPA d:facto 4018, the Shure KSM9, the Audix OM7, and the Neumann KSM 104.
In Closing
With the right microphone and good placement, a choir can bring life to the entire musical experience for a house of worship. Stand-mounted stereo condenser microphones capture a great sound, while overhead microphones are reliable, easy-to-use and stay out of the way. No matter which option you choose, a few handheld microphones are recommended as well to ensure your soloists can be heard clearly. If you’re looking for the right microphone option for your house of worship, the experts at Guitar Center Professional are ready and waiting to help you find exactly what you need.